2:1 1.5kg epoxy resin hardener
Sold Out
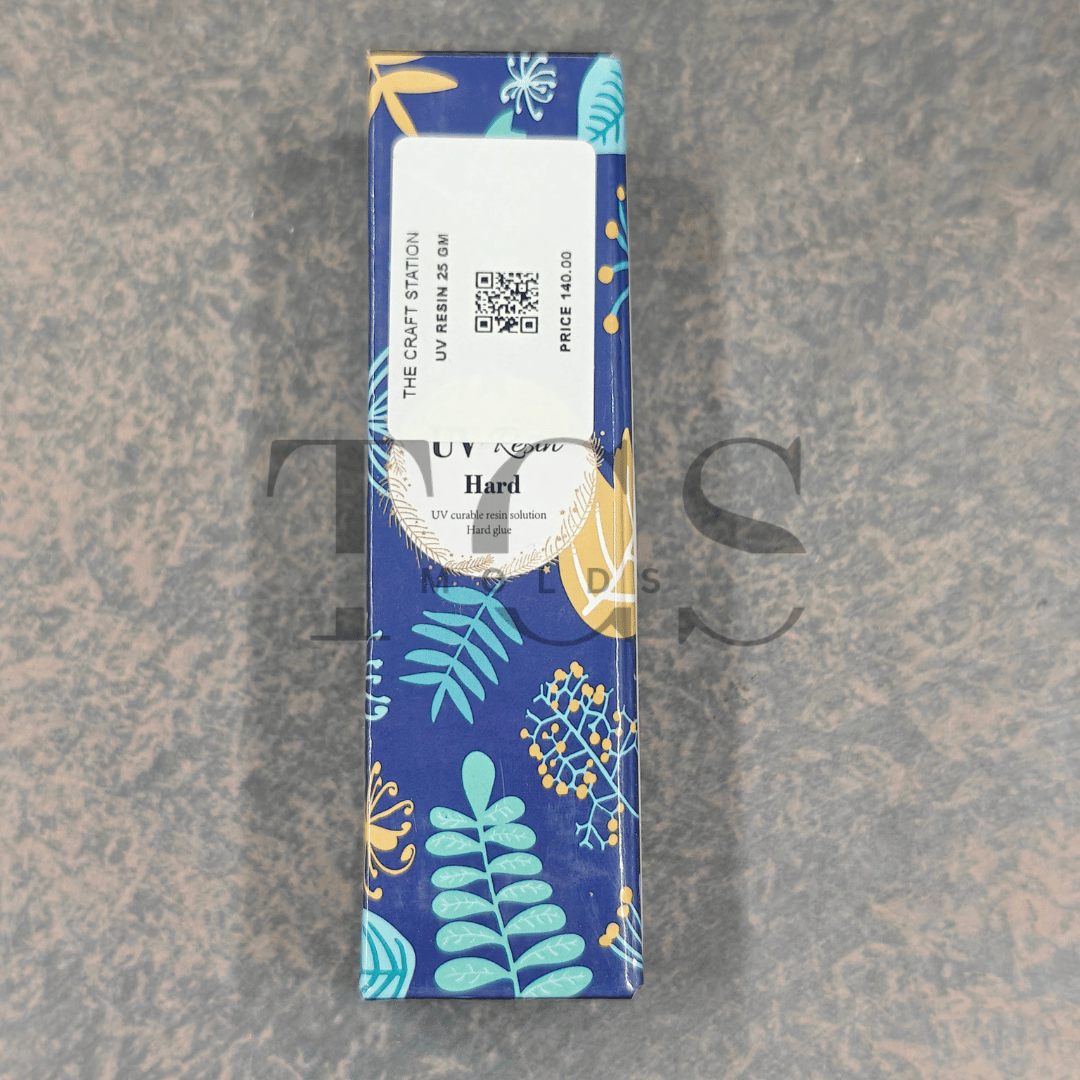
Inclusive of all taxes · Free shipping above ₹2599
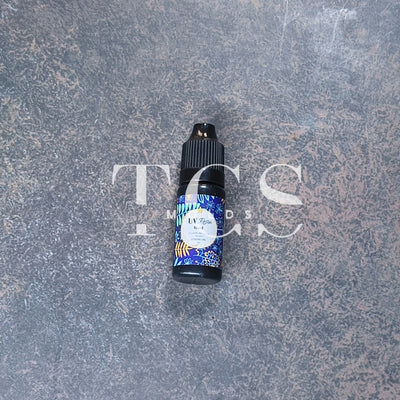
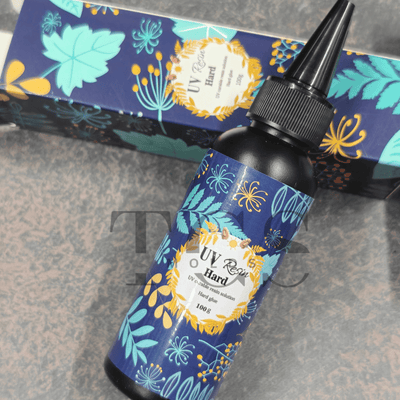
UV resin is the fastest route from idea to finished piece in resin art — and this 25g crystal-clear UV resin from THE CRAFT STATION MOLDS is the cleanest, most reliable formula we stock. Unlike two-part epoxy resin that requires careful measuring, thorough mixing, and 24–48 hours of cure time, UV resin is a single-component formula: no mixing, no ratio calculations, no waiting overnight. Just pour into your bezel, silicone mold, or craft surface, expose to a UV lamp or direct sunlight, and have a fully hard, glossy piece in minutes.
At THE CRAFT STATION MOLDS — Jammu's first dedicated resin art supply store, trusted by 5,000+ artists across India — we stock UV resin for jewellery makers, craft sellers, and workshop hosts who need fast results without sacrificing finish quality. Whether you are sealing a pressed-flower bezel, filling a keychain mold, or adding a glossy topcoat to an epoxy piece, this formula delivers a mirror finish that cures tack-free and stays crystal clear over time.
UV resin is a light-activated, single-part resin that remains liquid until exposed to ultraviolet (UV) light — either from a dedicated UV lamp or direct sunlight. When UV photons hit the photoinitiators in the resin, they trigger an almost instantaneous polymerisation reaction that converts the liquid into a hard, glass-like solid. The result is a glossy, non-yellowing, crystal-clear casting material that behaves like cured epoxy resin but sets in a fraction of the time.
Because UV resin cures layer by layer under a lamp, it gives you precise control that mixed epoxy does not — you can build up inclusions, stop between layers to reposition a dried flower or glitter element, and add the final sealing layer only when the design is exactly right. There is no pot life, no working-time pressure, and no wasted resin from a batch that gels before you finish.
This 25g bottle is sized for jewellery-scale work and small detail projects. Common applications include:
Step 1 — Prepare your mold or surface: Ensure the mold or bezel is clean and dry. For silicone molds, no mold release spray is needed — UV resin releases cleanly from food-grade platinum silicone. For metal bezels, ensure the back is sealed so resin cannot leak.
Step 2 — Pour in thin layers: UV light only penetrates to a depth of 2–4 mm before it is absorbed. Always pour UV resin in layers no thicker than 3–4 mm. For deeper pieces, fill in stages — cure each layer before adding the next.
Step 3 — Add inclusions between layers: After curing the base layer, place dried flowers, glitter, foil, or small charms on the surface. Pour the next layer to seal them, then cure again. This staged approach gives you full control over placement and prevents inclusions from sinking or floating.
Step 4 — Cure under UV light: Place the filled mold under a UV lamp (36W+) for 2–5 minutes per layer. Alternatively, cure in direct sunlight for 5–10 minutes (sunlight contains sufficient UV but is less consistent than a lamp). Rotate the piece halfway through for even cure on all sides.
Step 5 — Wipe the inhibition layer: After curing, the very top surface may feel slightly tacky — this is a normal oxygen-inhibition layer. Wipe it away with a cotton pad soaked in isopropyl alcohol to reveal the fully tack-free, glossy surface beneath.
Step 6 — Demold and finish: Flex the silicone mold to release the cured piece. Sand any rough edges with fine-grit sandpaper (400–1000 grit) and apply a final thin coat of UV resin as a gloss sealer if desired.
Both UV resin and epoxy resin produce beautiful, glossy finished pieces — the right choice depends on your project size and time constraints. UV resin is faster (minutes vs 24–48 hours) and requires no mixing, making it ideal for small jewellery pieces, bezels, and quick topcoats. However, it must be poured in thin layers and cannot fill large molds in a single pour. Epoxy resin (available in our Epoxy Resin collection) is better for larger pours — coasters, trays, art panels, and large silicone molds — where deep fill depth and volume are required. Many artists keep both on hand: UV resin for jewellery and detail work, epoxy resin for large-format projects.
| Feature | Detail |
|---|---|
| Volume | 25g |
| Type | Single-component UV-cure resin (no mixing required) |
| Colour | Crystal clear; non-yellowing formula |
| Cure method | UV lamp (36W+) or direct sunlight |
| Cure time per layer | 2–5 minutes under UV lamp; 5–10 minutes in direct sunlight |
| Maximum layer depth | 3–4 mm per layer (pour multiple layers for deeper pieces) |
| Finish | High-gloss mirror finish; tack-free after curing and IPA wipe |
| Compatibility | Silicone molds, metal bezels, glass, fabric, paper, wood (sealed surfaces) |
| Shelf life | Store in a cool, dark place away from UV light; reseal tightly after each use |
| Safety | Wear nitrile gloves and work in a ventilated space; avoid skin and eye contact with uncured resin |
TCS Molds is India's trusted resin art supply store — and when we stock a formula, we stock it because it works. This UV resin is non-yellowing, formulated to stay crystal clear through repeated UV exposure, and reliable across a wide range of applications from jewellery to topcoating. We are a beginner-friendly store: our team is available on WhatsApp support every day to guide first-time UV resin users through their first pour, cure, and demold.
We offer bulk pricing for studios, jewellery businesses, and workshop facilitators who pour at volume. Contact us on WhatsApp for wholesale rates on multi-bottle orders.
Orders ship pan India with free shipping above ₹2,599. Customers in Jammu enjoy same-day delivery on orders placed before noon. All chemical products are carefully packed to prevent leakage in transit. Our 7-day return policy applies — share an unboxing video if your order arrives damaged and we will replace it immediately.
Can I cure UV resin without a UV lamp?
Yes — UV resin cures in direct sunlight as sunlight contains UV wavelengths. Allow 5–10 minutes in bright, direct sun per layer. UV lamp curing (36W+) is faster and more consistent, especially on cloudy days or for indoor studio work.
Why is the top of my cured UV resin still sticky?
This is the oxygen-inhibition layer — a thin surface film that remains uncured because atmospheric oxygen inhibits polymerisation at the air interface. It is completely normal. Simply wipe the surface with a cotton pad soaked in isopropyl alcohol to remove the sticky layer and reveal the fully glossy, tack-free surface beneath.
How deep can I pour UV resin in one layer?
Pour no more than 3–4 mm per layer. UV light cannot penetrate beyond 4–5 mm of uncured resin — a deeper single pour will leave the bottom soft or uncured even if the surface hardens. For deeper pieces, build up in multiple thin layers, curing each fully before adding the next.
Can I add pigment or glitter to UV resin?
Yes — use UV-compatible resin pigment, alcohol ink, mica powder, or fine glitter. Add inclusions sparingly; highly opaque pigments can block UV light from reaching deeper layers and cause incomplete curing. For very pigmented pieces, cure in thinner layers than usual.
Will UV resin yellow over time?
This formula uses a non-yellowing photoinitiator system designed for long-term clarity. Yellowing is most commonly caused by over-curing (excess UV exposure past the full cure point) or prolonged direct sunlight on the cured piece. Cure only as long as needed and store finished pieces away from direct UV exposure.
Is UV resin suitable for beginners?
UV resin is often recommended for beginners precisely because there is no mixing ratio to get wrong and no working-time pressure. The ability to cure layer by layer and correct mistakes between layers makes it more forgiving than two-part epoxy for small jewellery projects. If you are new to resin art, start with UV resin for pendants and bezels and progress to epoxy resin for larger projects.
Pair your UV Resin 25g with these essentials from TCS Molds for a complete jewellery-making or small resin project setup:
New to UV resin and not sure where to start? Chat with us on WhatsApp — our craft team will recommend the right molds, pigments, and technique for your first project.
7-day return policy on unused, unopened items.
⚠️ Video proof required for returns: To be eligible for a return or replacement, you must record an unboxing video at the time of opening your package. Claims submitted without an unboxing video cannot be processed.
📱 WhatsApp +91 9797137137 to initiate a return. Our team responds within 2 hours.
5,000+ artists trust TCS Molds. Tag us @tcsmolds to be featured.
📸
Share your work on Instagram with @tcsmolds or send us a photo on WhatsApp. We feature the best customer work here.
📤 Share Your Work📱 Follow us on Instagram for daily inspiration
@tcsmolds/Wash with mild soap and warm water before first use. Dry completely.
Optional but recommended — thin coat of mould release spray for easy demoulding.
Combine resin and hardener in the correct 3:1 ratio. Stir slowly for 3–4 minutes.
Pour slowly to avoid bubbles. Use a heat gun to pop surface bubbles. Let cure 24–48 hrs.
Gently flex the mould to release. Sand edges if needed. Polish with resin polish for mirror finish.
Install Judge.me from the Shopify App Store (free) to collect and display reviews here.
Share feedback on WhatsApp