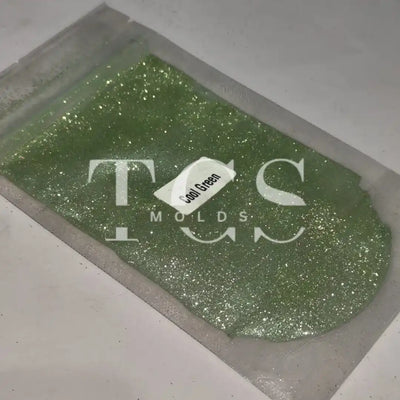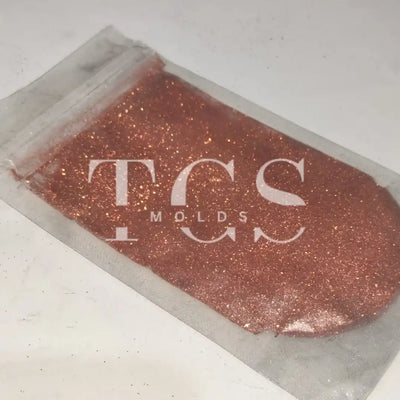
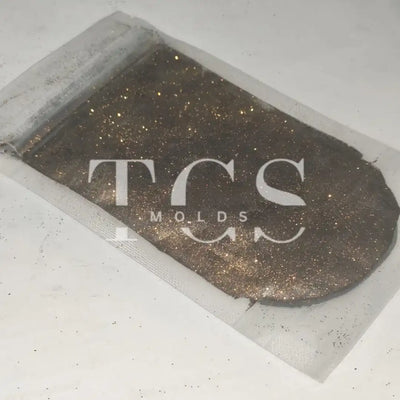
Chrome glitter dust
In Stock
Inclusive of all taxes · Free shipping above ₹2599
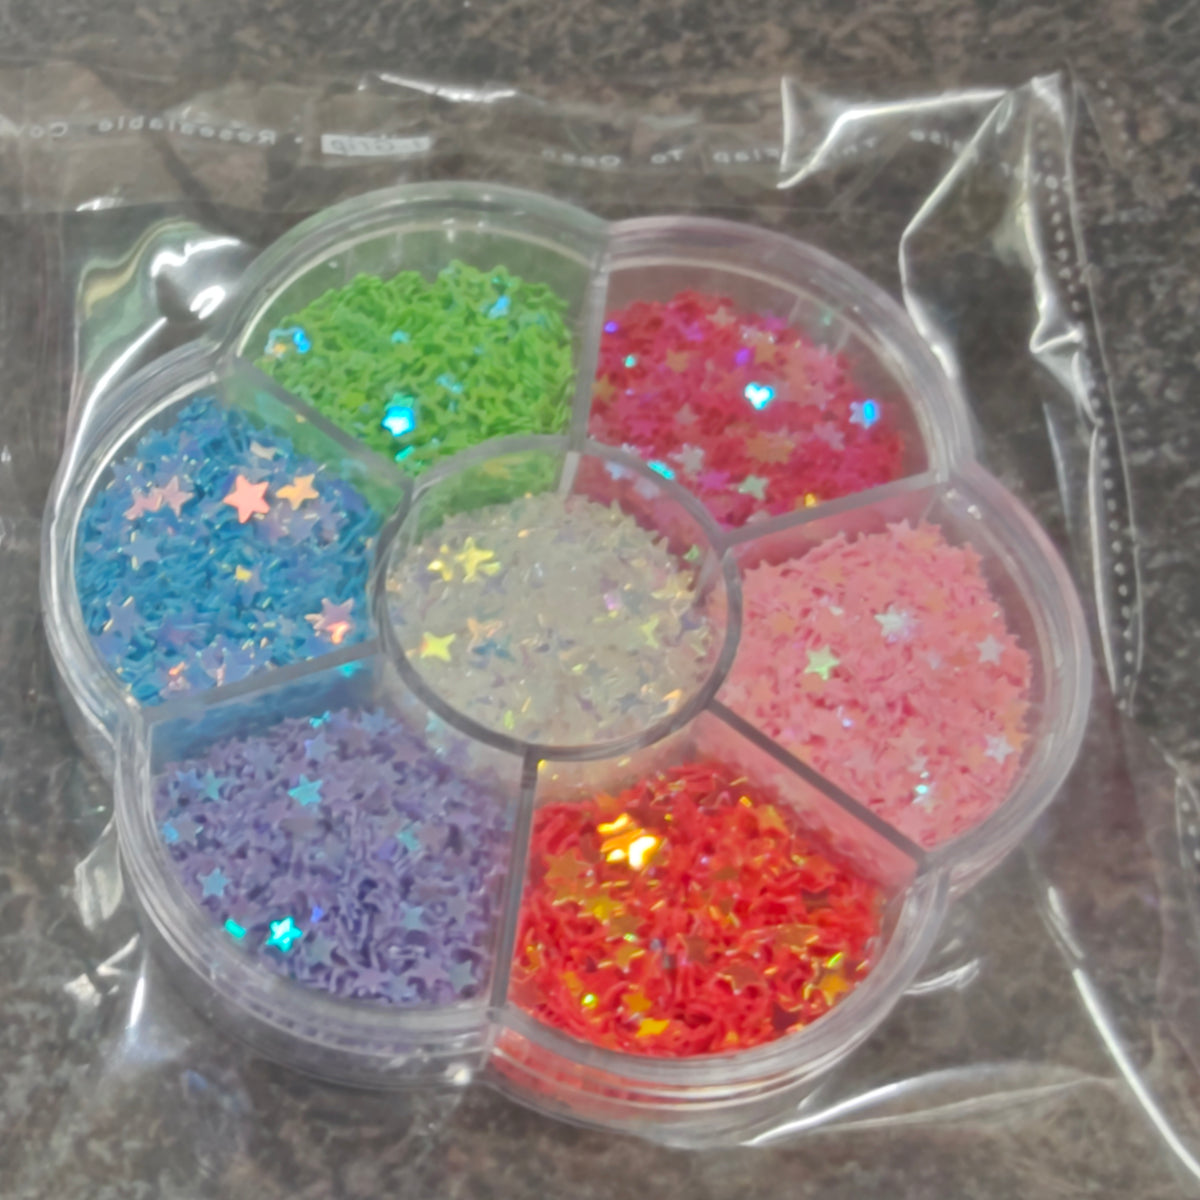
The Glitter Set of 7 from THE CRAFT STATION MOLDS is a curated collection of seven fine-particle glitters — available in star-cut and circle-cut variants — specifically selected for use in epoxy resin art, UV resin jewellery, soy wax candles, and mixed-media craft projects. Each glitter in the set has been chosen for compatibility with liquid resin: fine enough to stay suspended through the pour, coarse enough to catch light with visible sparkle, and formulated to resist the chemical interaction with uncured epoxy resin that causes cheaper craft-store glitters to dissolve and cloud the resin. Whether you are making resin coasters that shimmer under table lighting, jewellery pieces with embedded galaxy effects, or glitter-top soy wax candles for gifting, this resin art glitter set gives you seven tones for maximum creative versatility in one affordable kit. In stock and ready for same-day dispatch, trusted by 5,000+ resin artists across India and available pan India from THE CRAFT STATION MOLDS, Jammu.
Star Cut Glitter Set: Seven glitters cut into tiny star shapes — a premium craft glitter cut that catches light at multiple angles and creates constellation-like effects in deep-poured resin geodes, galaxy coasters, and night-sky jewellery pieces. The star cut is the most popular choice for resin art with a celestial, whimsical, or luxury aesthetic.
Circle Cut Glitter Set: Seven glitters in round disc-cut particles — a classic high-shine glitter cut that reflects light uniformly for a consistent sparkle finish. Ideal for resin coasters, wedding favour pieces, and jewellery where an even, mirror-like shimmer is preferred over a graphic cut-shape effect.
Epoxy Resin: The primary application. Mix glitter directly into your epoxy resin at the 3:1 ratio (Part A to Part B by volume) after mixing the components. Add glitter gradually — start with a small pinch and increase to control sparkle intensity. The glitter suspends through the full 24–48 hour cure time without sinking if mixed into a resin that has already begun to gel slightly, or use a higher-viscosity resin formulation for heavy glitter concentrations.
UV Resin: Mix into single-component UV resin before pouring into a mold or bezel. Cure layer by layer under a 36W+ UV lamp for 2–5 minutes. UV resin's lower pour depth (max 3–4mm per layer) makes it ideal for glitter concentration in thin jewellery layers.
Soy Wax Candles: Sprinkle glitter on the surface of a poured soy wax candle while it is still slightly warm and tacky (just before full set). The glitter adheres to the wax surface as it fully sets, creating a sparkle-top candle finish. This is a cosmetic/display-only application — do not add glitter directly into the wax melt pool.
Nail Art & Mixed Media: Use these fine glitters for nail art topping, scrapbooking, card making, and mixed media journaling applications where fine resin-grade glitter outperforms standard craft store glitter in sheen and consistency.
Step 1 – Mix your resin: Mix epoxy resin at the standard 3:1 ratio (Part A to Part B by volume) for 3–4 minutes until fully combined and clear. Divide into separate cups if using multiple glitter colours.
Step 2 – Add glitter to resin: Add your chosen glitter colour to the mixed resin and stir gently. Start with a small amount — a little glitter goes a long way in resin. Use a toothpick or silicone stirrer to fold the glitter in without introducing bubbles. For multi-colour effects, keep each colour in its own cup.
Step 3 – Pour into your mold: Pour glitter resin into your silicone mold or onto your resin canvas. For galaxy effects, layer clear resin, then glitter resin, then clear resin again for depth. Use a heat gun on low to remove surface bubbles after pouring.
Step 4 – Create effects: Use a toothpick or a wooden skewer to swirl different glitter colours together before the resin begins to gel. For geode effects, pour concentrated lines of a single glitter colour along a defined channel. For galaxy coasters, marble three or four glitter colours in circular motions.
Step 5 – Cure and demold: Allow the glitter resin to cure fully — 24–48 hours for epoxy at room temperature. The glitter remains suspended and fixed in the cured resin. Demold from your silicone mold and finish the surface as needed.
Step 6 – Finishing: For resin pieces used as coasters or jewellery, sand with 800–2000 grit wet sandpaper and polish with a soft cloth or polishing compound for a mirror-clear surface that makes the glitter sparkle at maximum brilliance.
Galaxy Resin Coasters: Layer navy, purple, and silver glitter resin with star-cut particles for a galaxy coaster series — one of the bestselling resin products at Indian craft fairs and on Instagram. Sell at ₹300–600 per coaster set.
Glitter Resin Jewellery: Fill pendant bezels with single-colour glitter resin for consistent, high-shine jewellery in matching colour sets. Star-cut glitter in champagne or rose gold creates a luxury jewellery finish popular with Indian handmade jewellery sellers.
Wedding Favour Coasters: White and gold glitter resin coasters personalised with rose gold metallic marker pen — a premium wedding table favour that retailers at ₹250–400 per piece.
Glitter-Top Candles: Sprinkle the circle-cut glitter set on freshly poured soy wax candles before they set for a party-ready, photogenic candle styling. Popular for New Year, Diwali, and birthday celebration gifting.
Resin Bookmarks & Keyrings: Pour glitter resin into rectangular bookmark molds or keyring molds for quick, low-material craft fair products. Star-cut glitter makes each bookmark unique — no two have the same sparkle pattern.
Kids' Craft Kits: Pair the glitter set with a simple coaster mold and UV resin for a child-safe (supervised), quick-gratification resin art activity for craft workshops and birthday parties.
| Specification | Details |
|---|---|
| Contents | 7 glitter colours per set |
| Available Cuts | Star cut (variant 1) or Circle cut (variant 2) |
| Compatible Materials | Epoxy resin, UV resin, soy wax (surface), nail art, mixed media |
| Glitter Type | Fine craft glitter, resin-compatible |
| Suspension in Resin | Remains suspended through full 24–48hr epoxy cure time |
| Resin Ratio for Epoxy | 3:1 (Part A : Part B by volume) |
| Stock | In stock, ready to ship |
| Price | ₹150 per set |
THE CRAFT STATION MOLDS is Jammu's first dedicated resin art supply store, trusted by 5,000+ craft artists across India. All supplies ship pan India with an unboxing video for damage claims and are backed by a 7-day return policy. We are beginner-friendly with WhatsApp support for all resin art questions. Bulk pricing available for craft businesses and wholesale buyers — message us on WhatsApp.
Free shipping on all orders above ₹2,599, shipped pan India. Same-day dispatch for orders placed before 3 PM with same-day delivery in Jammu. All orders include an unboxing video.
Q: What is the difference between the Star cut and Circle cut variant?
A: The Star cut glitter has tiny star-shaped particles that create a multi-angle light reflection — best for galaxy, celestial, and whimsical resin designs. The Circle cut has round disc particles for uniform, consistent shimmer — best for elegant, even-sparkle applications like wedding favours and jewellery.
Q: Will the glitter sink to the bottom of my resin mold during curing?
A: Fine glitter may partially settle in very fluid resin. To minimise sinking, add glitter after the resin has begun to thicken slightly (20–30 minutes after mixing), or mix it into a slower-cure, higher-viscosity epoxy formulation. For UV resin, the faster cure time prevents settling entirely.
Q: Can I mix multiple glitter colours from the set together?
A: Yes. Mixing two or three colours from the set in a single resin pour produces beautiful multi-tone sparkle effects — champagne + silver + white for a winter theme, or red + gold + green for festive seasonal designs.
Q: Is this glitter safe for skin-contact resin jewellery?
A: The glitter is encapsulated inside fully cured resin in finished jewellery pieces. Cured epoxy resin is inert and safe. The glitter itself is not rated for direct skin contact as a cosmetic product — always encase it in resin for jewellery applications.
Q: How much glitter should I use per batch of resin?
A: Start with a small pinch per 50ml of mixed resin and add more to taste. Resin glitter is concentrated — less than you think goes a long way. For a heavy, all-over sparkle effect, you can use up to 1 teaspoon per 100ml of resin.
Q: Do you offer bulk pricing on the Glitter Set of 7?
A: Yes. Message us on WhatsApp with your quantity for wholesale pricing and priority dispatch.
→ Crystal Clear Epoxy Resin (3:1 ratio) — the base material for all glitter resin art
→ Mica Pigments & Colour Powders — pair with glitter for multi-dimensional resin colour effects
→ Silicone Molds India — coaster molds, jewellery molds, and tray molds for your glitter resin pours
→ Heat Gun & Craft Tools — for bubble removal on glitter resin surfaces
→ Pressed & Dried Flowers — combine botanical inclusions with glitter for layered resin art depth
Start sparkling — message THE CRAFT STATION MOLDS on WhatsApp for help choosing the right glitter colour combinations for your first resin pour. Beginner-friendly, pan India, and always ready to help.
7-day return policy on unused, unopened items.
⚠️ Video proof required for returns: To be eligible for a return or replacement, you must record an unboxing video at the time of opening your package. Claims submitted without an unboxing video cannot be processed.
📱 WhatsApp +91 9797137137 to initiate a return. Our team responds within 2 hours.
5,000+ artists trust TCS Molds. Tag us @tcsmolds to be featured.
📸
Share your work on Instagram with @tcsmolds or send us a photo on WhatsApp. We feature the best customer work here.
📤 Share Your Work📱 Follow us on Instagram for daily inspiration
@tcsmolds/Wash with mild soap and warm water before first use. Dry completely.
Optional but recommended — thin coat of mold release spray for easy demolding.
Combine resin and hardener in the correct 3:1 ratio. Stir slowly for 3–4 minutes.
Pour slowly to avoid bubbles. Use a heat gun to pop surface bubbles. Let cure 24–48 hrs.
Gently flex the mold to release. Sand edges if needed. Polish with resin polish for mirror finish.
Install Judge.me from the Shopify App Store (free) to collect and display reviews here.
Share feedback on WhatsApp